Table of Contents
Central SCADA Application with SMX-RNS02
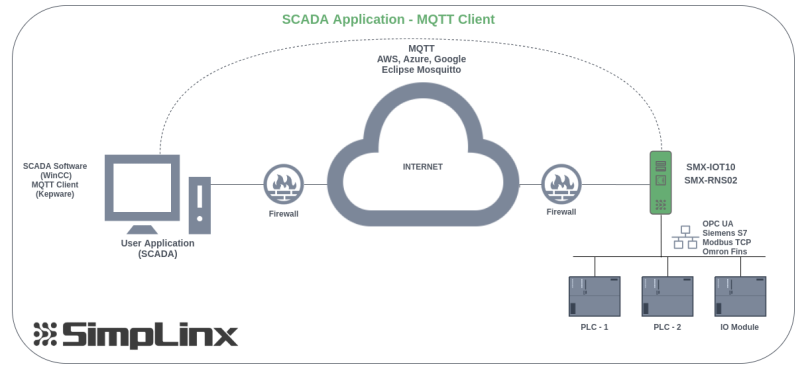
It is possible to read the process data from remote locations over the internet by using SMX-RNS02 and monitor this data on SCADA or user application. In this application example, the data will be transferred to the central SCADA (WinCC) using SMX-RNS02, with the help of Amazon AWS IoT Core and Kepware MQTT Client.
Required Hardware
- 1 x SMX-RNS02
- 1 x PLC (or IO Module, or simulator)
- 1 x PC (for SCADA application)
- 1 x Ethernet Cable
- 24V Power Supply
Installing the Hardware
For detailed information, please refer to the technical documents of the respective devices!
- Make the power connections correctly.
- SMX-RNS02: 24V DC
- PLC, IO Module
- Make ethernet connection between SMX-RNS02 and PLC with Ethernet Cable
- Provide internet to SMX-RNS02 device as you prefer
- Energize the power supply and other devices
Required Software
- SCADA Software (WinCC)
- Kepware MQTT CLient
- Programs belonging to the PLC used
- Web Browser
AWS Setup
- If you don't have an AWS account, create it
- Go to the “AWS Management Console” page
- Go to “Internet of Things→ IoT Core” page
Select “Manage→ Things” from the Left Menu and press “Create single thing”
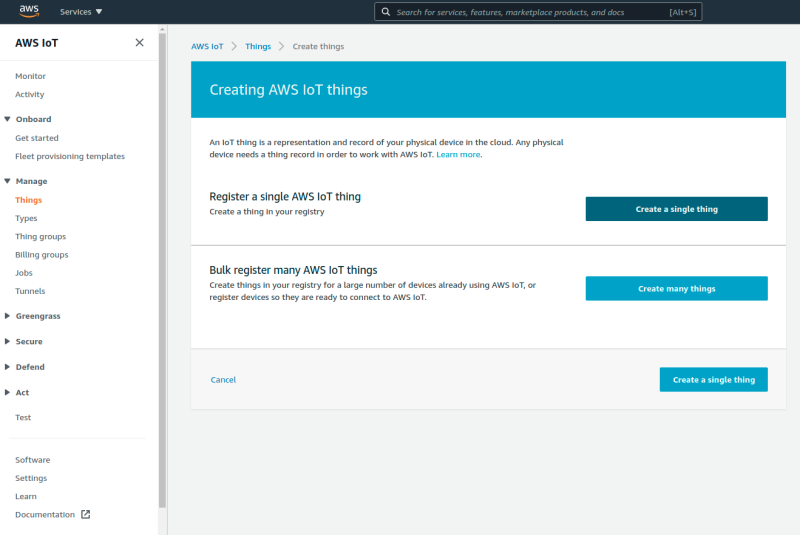
Proceed step by step. Add a certificate.
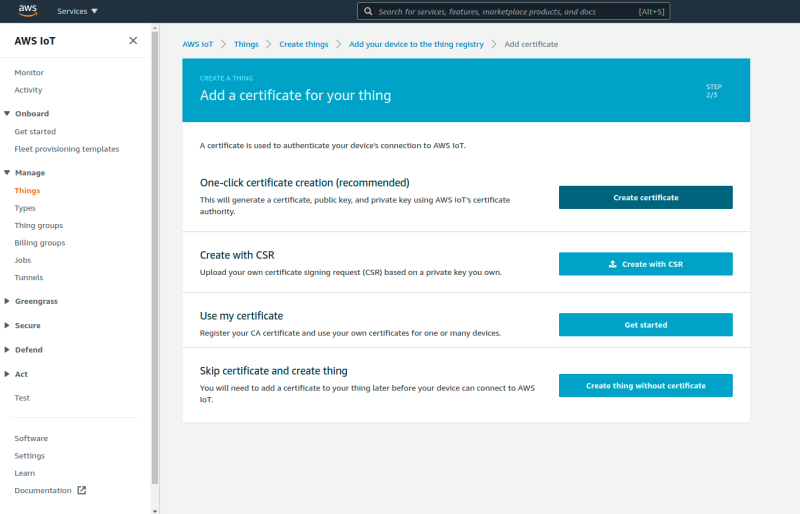
Activate the certificate. Define a policy with the “Attach a policy” option. To create Policy;
- Open the policy page in the new tab from the left menu.
- Add new
- Give a name
- Action: “iot: Connect, iot: Receive, iot: Publish, iot: Subscribe”
- Resource ARN: “*”
- Effect: “Allow”
- Complete with “Create”
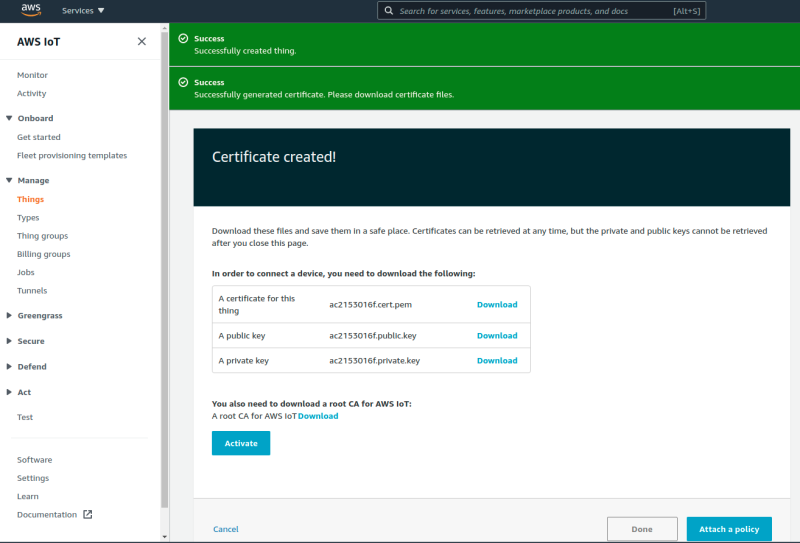
Download and save the following files from the certificate page.
- Certificate file
- Private Key file
- Amazon Root CA 1 PEM file
Preparing SMX-RNS02
- Properly provide physical connection with PLC
- If you need to make IP settings etc., please review the relevant documents.
- Go to “http://192.168.169.254:8080” via web browser and login
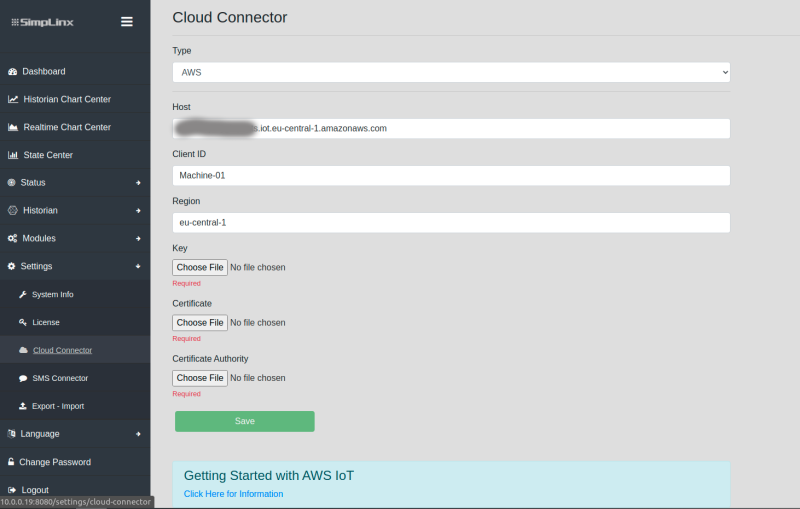
Enter settings from “Settings→ Cloud” Connector page
- Host: You can copy it from “Things→ Interact” menu
- Client ID: Name your device
- Region: AWS Region
- Select Key, Certificate, Certificate Authority files (downloaded at AWS step)
- Save
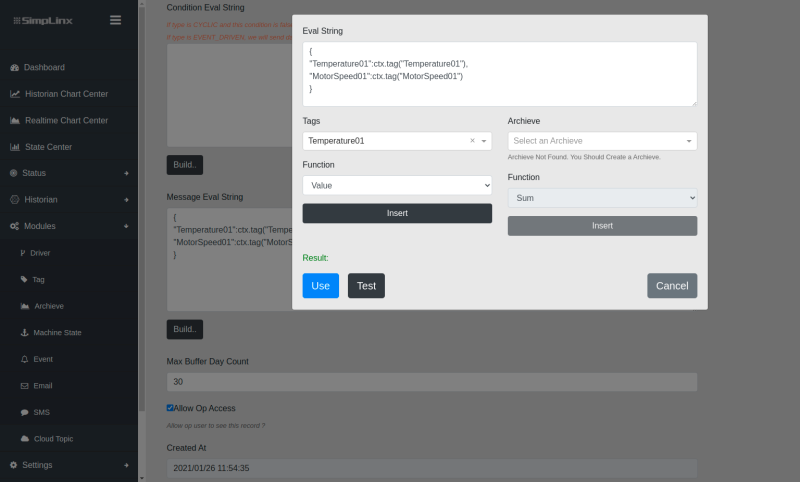
Go to “Modules→ Cloud Topic” page and select the data you want to export to the cloud
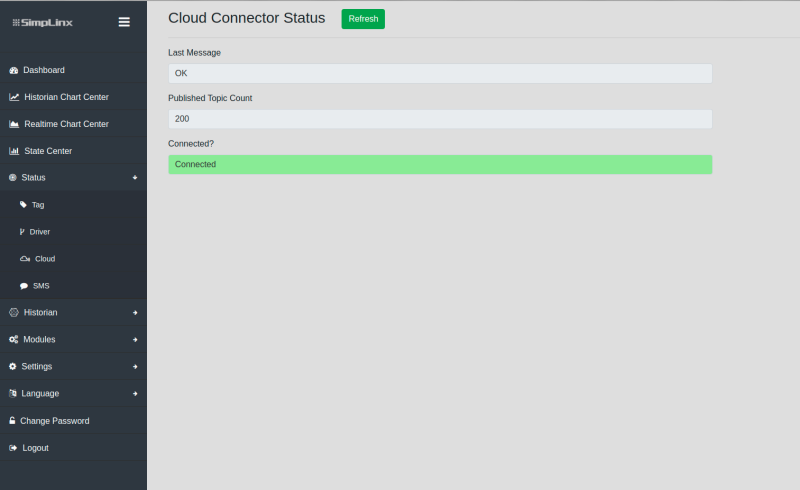
Check your connection on the “Status→ Cloud” page
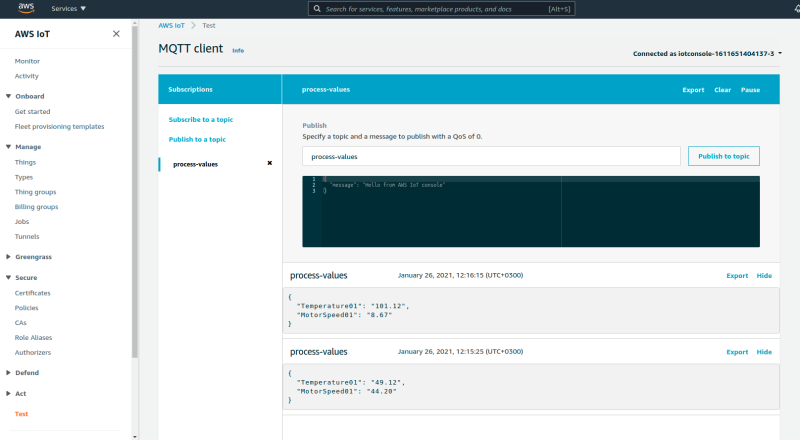
Go to “AWS IoT → Test” Page and check that the data is coming through MQTT. In the “Subscribe Topic” section, enter the name you entered while creating “Modules→ Cloud Topic”.
Kepware MQTT Client Setup
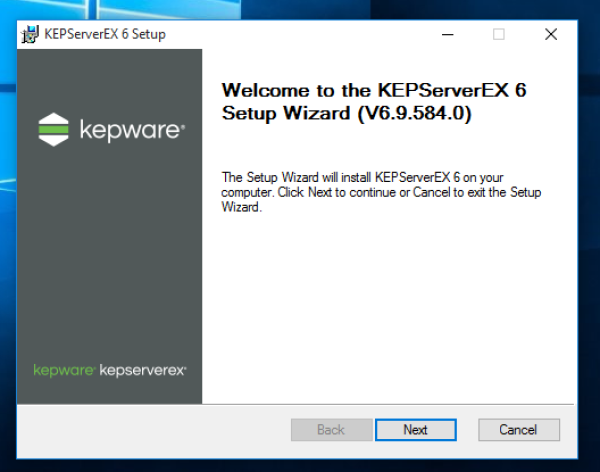
Start the Kepware program installation.
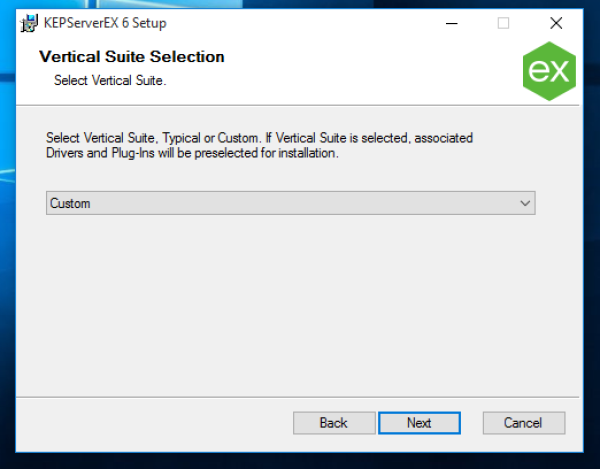
Choose “Custom”
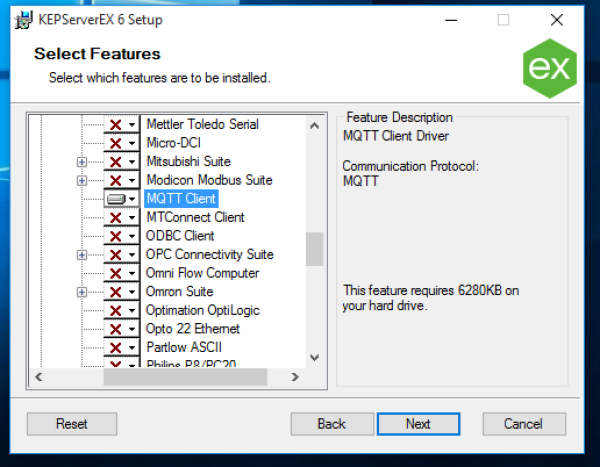
Complete the installation by simply selecting “MQTT Client” during installation.
Kepware application will connect to AWS as a client like SMX-RNS02. For this reason, repeat the following operations in the AWS step;
- Go to the “AWS Management Console” page
- Go to “Internet of Things→ IoT Core” page
Select “Manage→ Things” from the Left Menu and press “Create single thing”
Proceed step by step. Add a certificate.
Activate the cetificate. Define a policy with the “Attach a policy” option. Download and save the following files from the certificate page.
- Certificate file
- Private Key file
- Amazon Root CA 1 PEM file
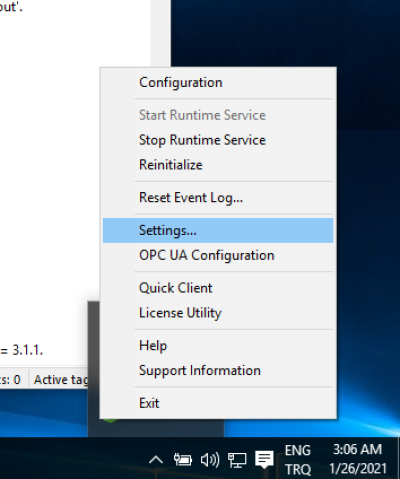
After the installation is completed, open the menu on the icon in the lower right corner and select the “Settings …” section.
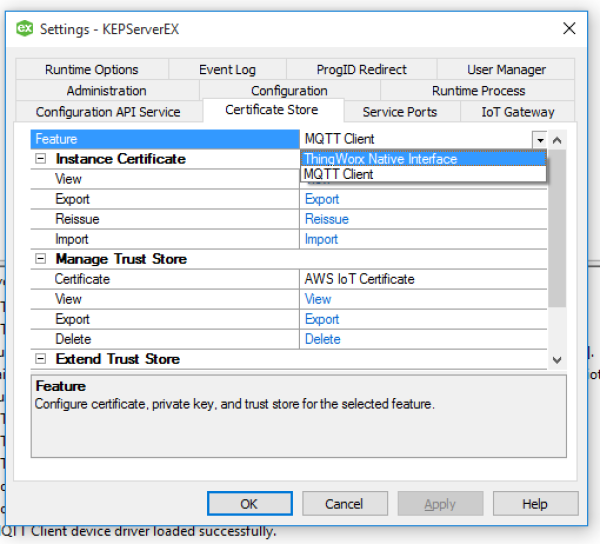
Move to the “Certificate Store” section.
- Kepware requires private key and certificate in a single file.
- Open certificate and private key files with any text editor and combine their contents in one file
- Select “MQTT Client” as “Feature” option from the screen below.
- Select the file you just created with the “Import” option from the screen below.
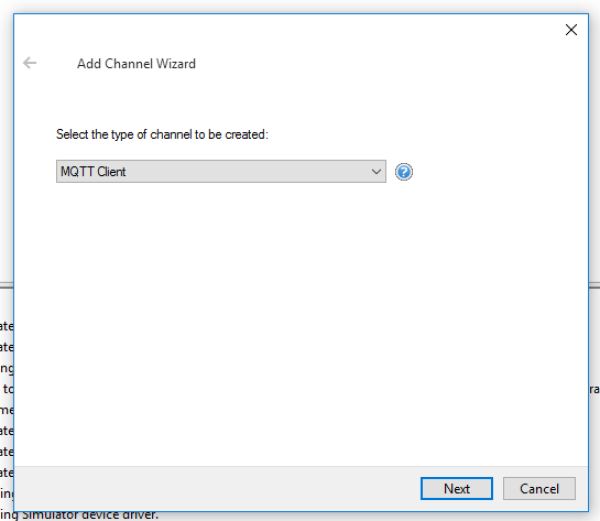
Go to the Kepware Configuration screen and add a new channel.
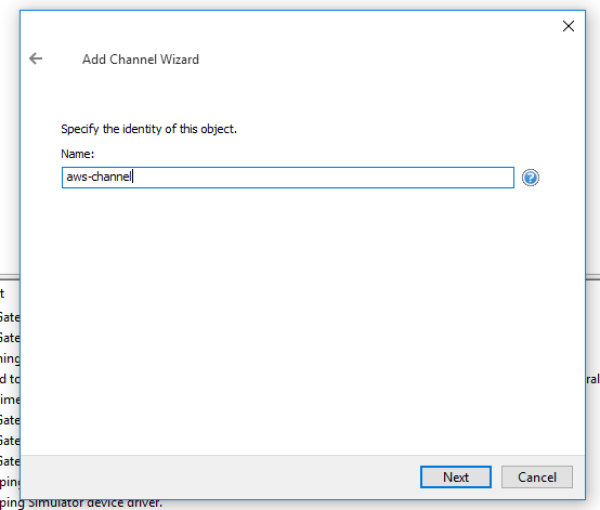
Name your channel
Set the channel as follows
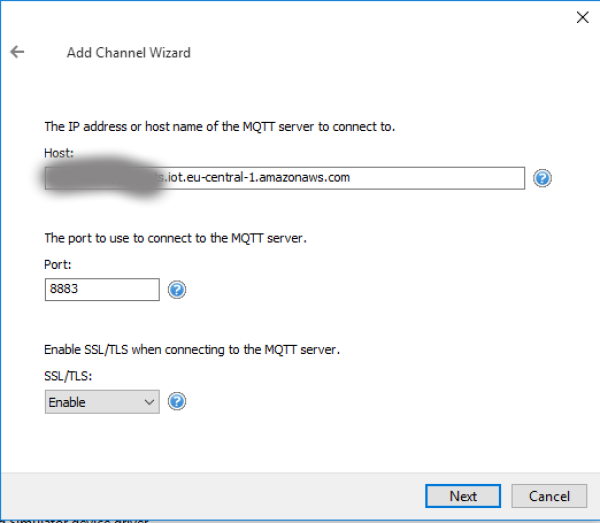
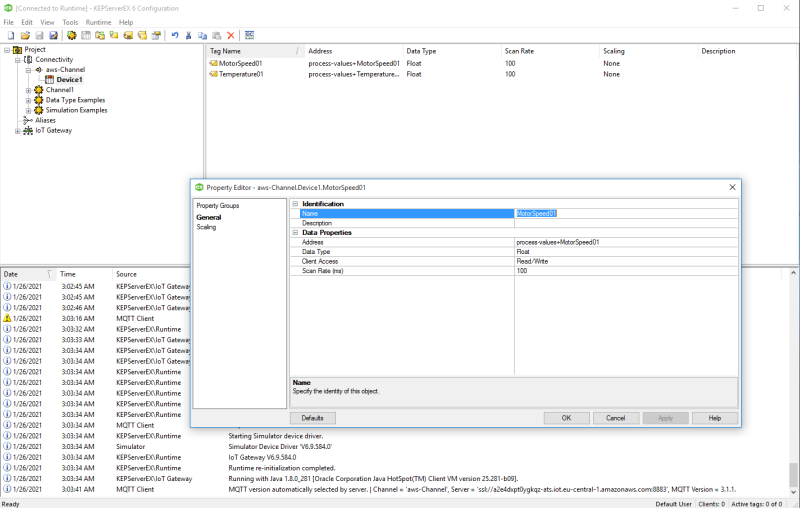
Add tags under the channel (Use the format <TOPIC_NAME>+<VAR_NAME> as tag address. For example “process-values+MotorSpeed01”
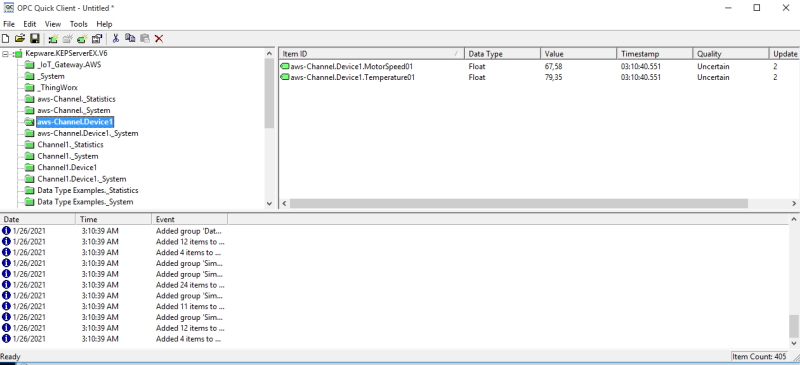
Confirm that the values have been read with OPC Quick Client.
Preparing WinCC
Open the WinCC program and create a new Project.
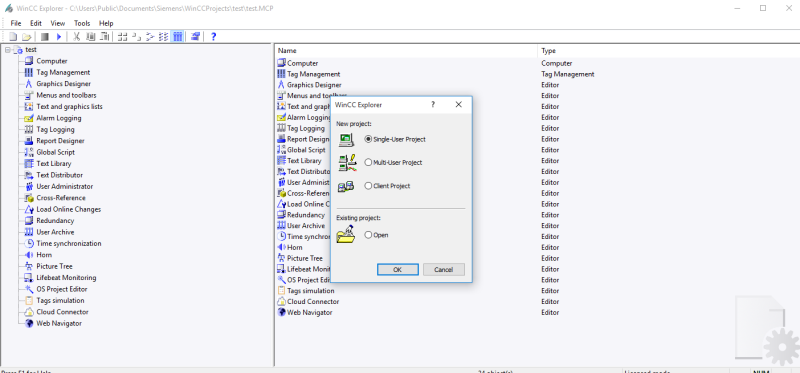
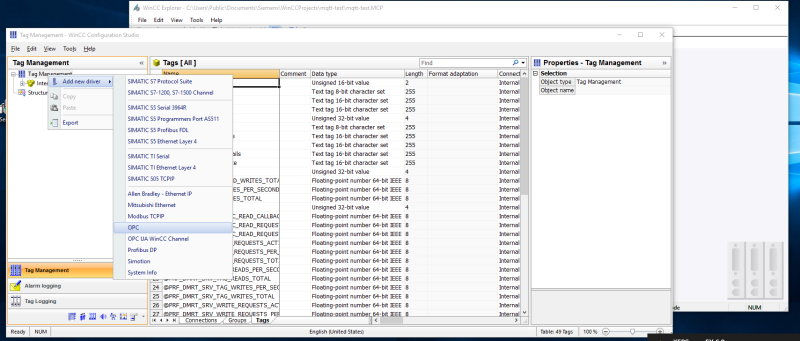
Go to the “Tag Manager” section. “Add new driver” via “Add new driver→ OPC”.
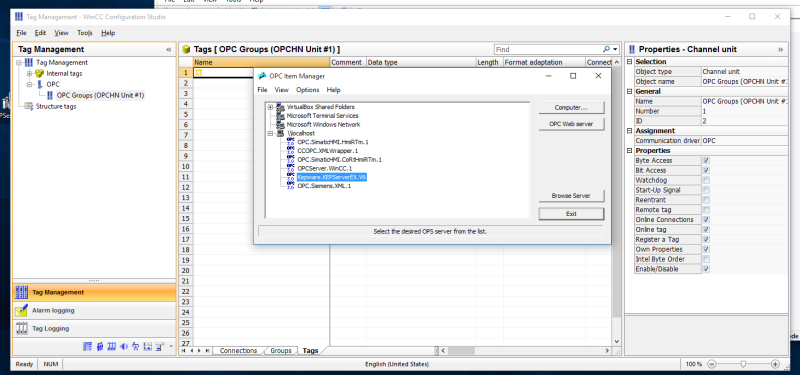
Add “localhost” with the “Computer ….” option and select Kepware.
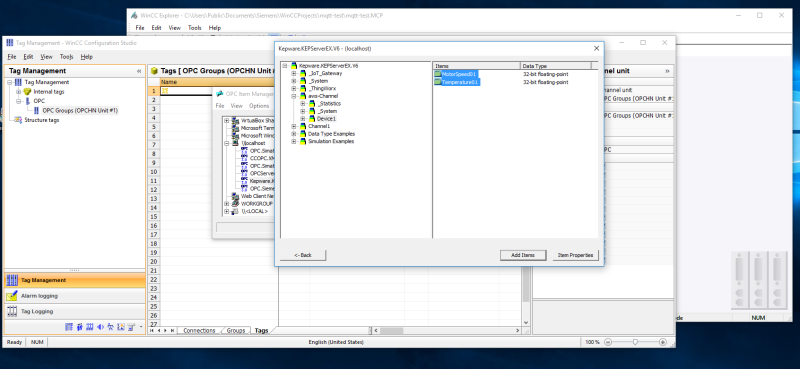
Add the tags under Kepware to your project by browsing
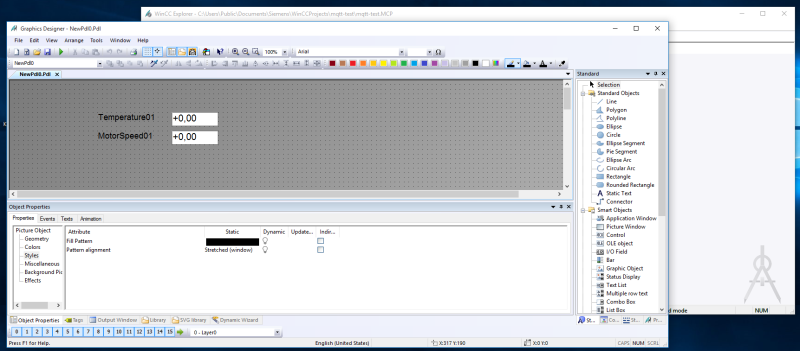
Create new page with “Graphic Designer” and add tag to the page
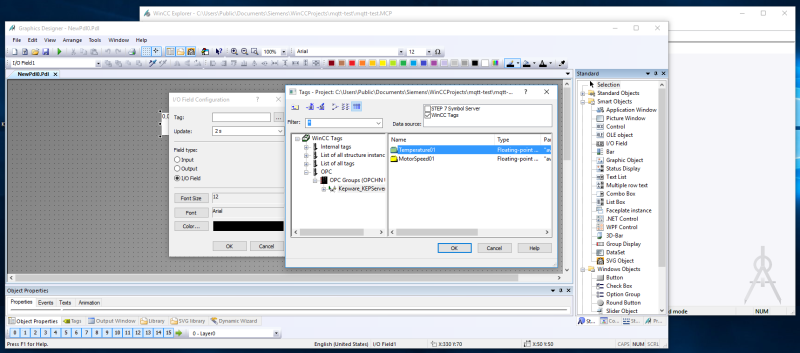
“Graphic Designer” page view
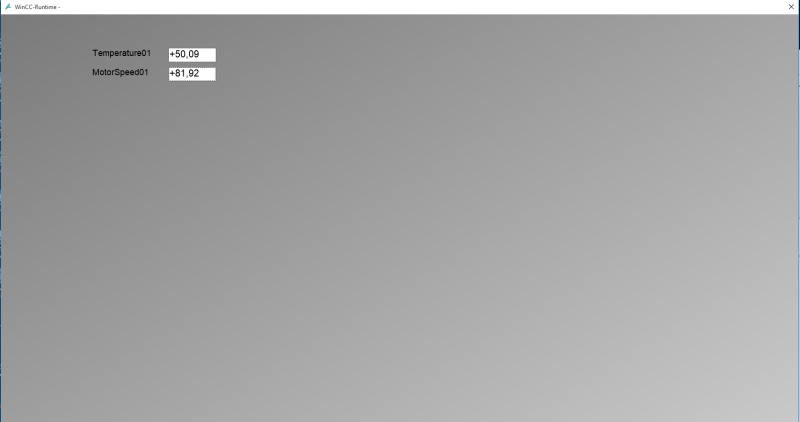
Run your project and confirm that you have read the values