How to Read Data from OMRON PLC
OMRON FINS connection setup:
- Select “Modules” category from menu.
- Select “Driver” to connect Omron Fins.

- In “Drivers” page, click plus '+' button to add new driver.

- Name: Write any name you like to describe connection, for example Omron.
- Endpoint: This is the endpoint URL of device to connect via Omron.
- Type: Choose OMRON FINS for connection type.
- Driver Specific Options: After choosing OMRON FINS type for connection, set driver specific options. You can declare port and timeout.

- Then click “Save” button to establish connection.
- After adding driver, add new controller and set system configuration for OMRON FINS:

- After connection established, tag must be added to driver. To do that:
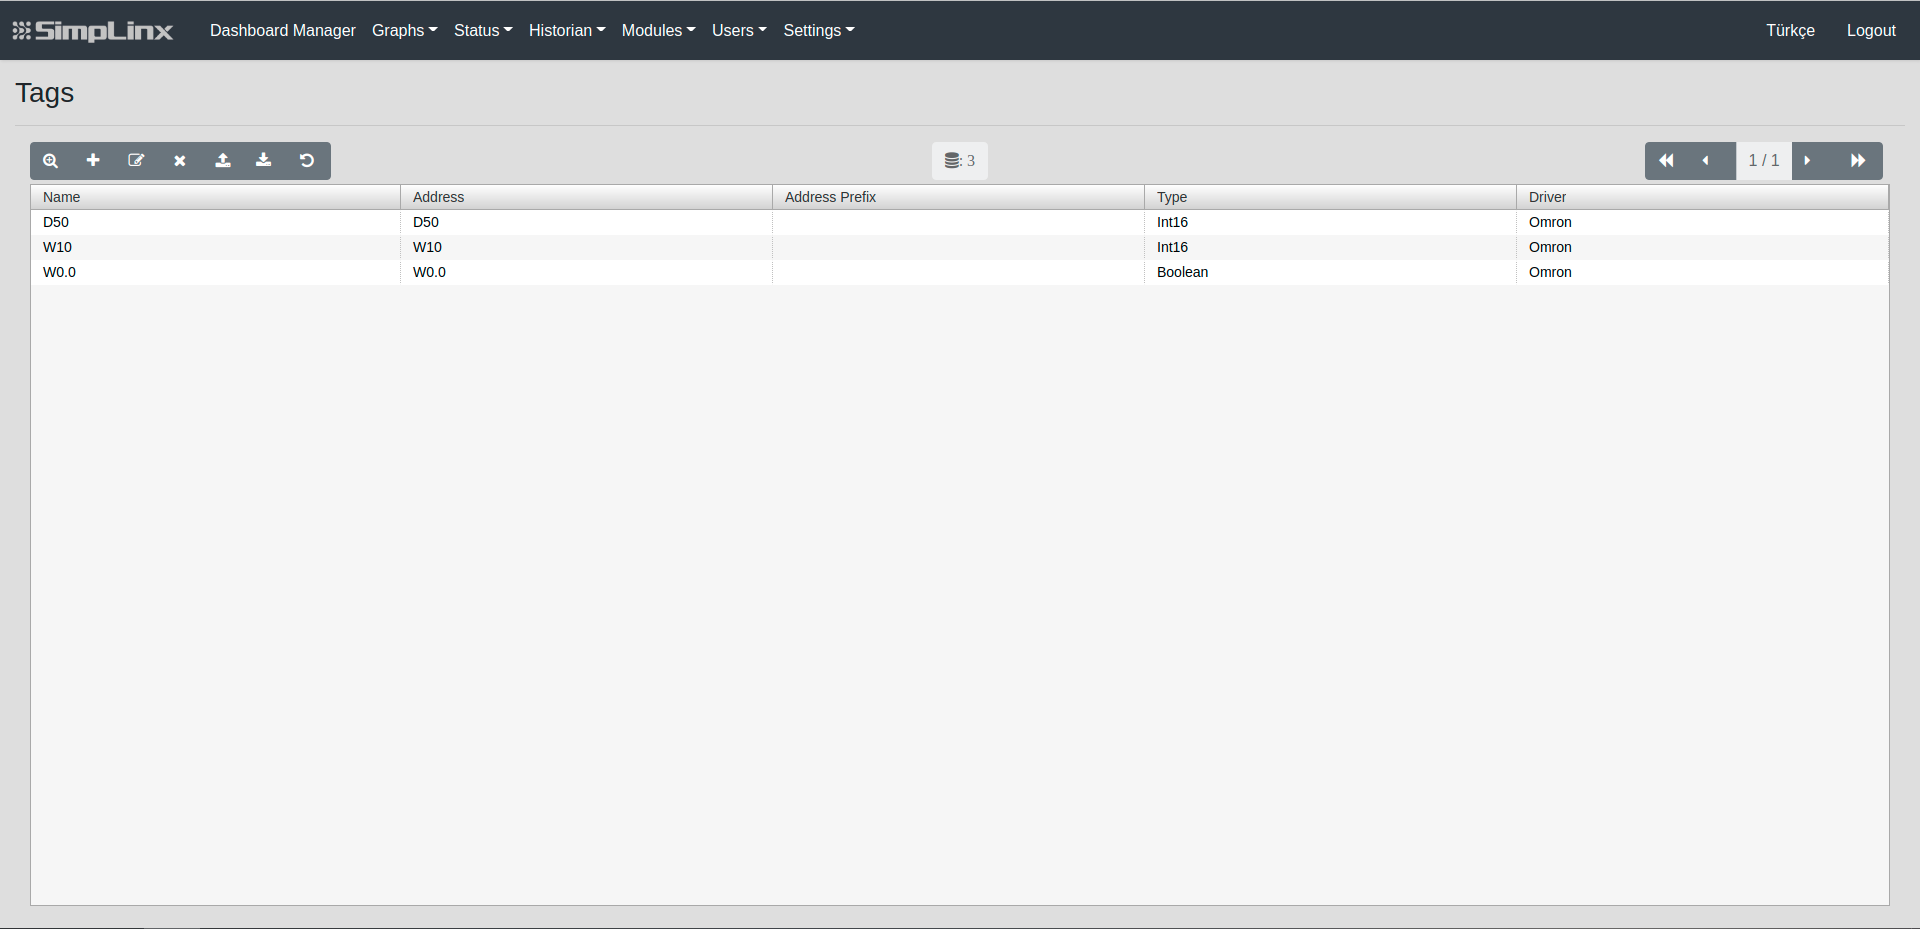
- Select “Modules” from menu, then click “Tag” option.
- In “Tags” page, click plus “+“ button to add new tag.

- “Details” page will be shown after clicked ”+” button.
- In this page:
- Name: Choose any name you like to describe tag.
- Type: Choose proper type for data.
- Address: Write tag address, this address is coming from OMRON FINS
- Address Prefix: You can write address prefix.
- Conversion Script: In this area, you can do math operations with tag.
- Driver Name: Choose correct Driver for Driver Name. In this example, Omron.

- Click “Save” button to add tag.
- After adding tag, to configure settings for Omron fins:
- In the configuration setup, go to Built-in EtherNet/IP Port
- Set configuration and save.


- When configuration is done, there is Programming section, click and then select Data and set Global Variables.

- After adding tag, to see connection established and coming data, select “Status” category from menu then click “Tag” option.
- In this page: Name, Last Value, Last Message, Last Update Time and Status will be shown
- If tag is added to driver successfully, green OK message will be appear under Status.
- Last Value: Last data will be shown coming from connection.

- You can change also Memory Settings in Controller Setup for Omron Fins:
