
Internet from a phone over Wi-Fi
Preface
Section titled “Preface”Purpose of the Document
Section titled “Purpose of the Document”The document contains information about the following topics;
-
Giving Internet Access from Android Phone to SMX-RNS with WiFi
-
Giving Internet Access from iOS Phone to SMX-RNS with WiFi
-
Adjusting Wireless Settings for SMX-RNS20 with Physical Connection
-
Adjusting Wireless settings for SMX-RNS20 with Wifi Connection
Required Level of Knowledge
Section titled “Required Level of Knowledge”In order to fully understand and apply this document, it is necessary to have knowledge of IT, Automation and Electricity.
Required Hardware and Software
Section titled “Required Hardware and Software”The software and hardware to be used in this guide is listed below.
Hardware
- 1 x SMX-RNS20 Module
-
1 x SMX-N1559 Wi-Fi Module
-
1 x Ethernet Cable with min. 1 meter length (Optional)
-
1 x Android or iOS Mobile Phone
-
User PC
Software
-
Windows 7 or Windows 10 (32 Bit or 64 Bit) Operating System
-
Web Browser (preferably Google Chrome)
Preparing Hardware
Section titled “Preparing Hardware”Electrical Connection of SMX-RNS20 Module
Section titled “Electrical Connection of SMX-RNS20 Module”The SMX-RNS20 module has one terminal group. The terminal group is called X1. The X1 terminal group has 3 terminals. They are in order as follows;
| X1 | ||
|---|---|---|
| + | - | GND |
Connect your power supply’s output to the appropriate terminals (+), (-) and GND.
Wi-Fi Connection
Section titled “Wi-Fi Connection”Sharing Wireless Internet from Android Phone to SMX-RNS
Section titled “Sharing Wireless Internet from Android Phone to SMX-RNS”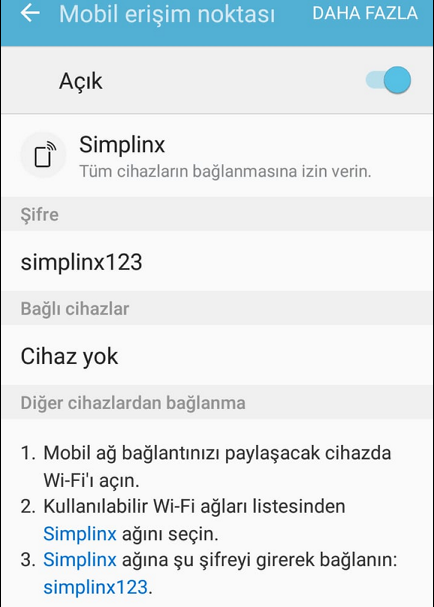
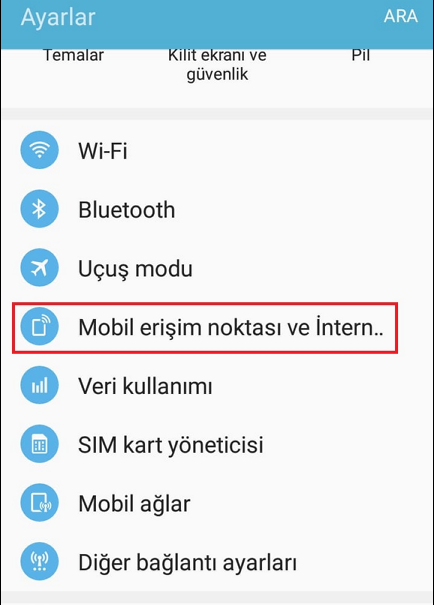 Enter your phone’s settings section. From the Settings menu, go to Mobile Access Point and Internet Sharing (the menu content may vary depending on the phone brand and model) section and activate Mobile Access Point option from there.
Sharing Wireless Internet from iOS Phone to SMX-RNS
Section titled “Sharing Wireless Internet from iOS Phone to SMX-RNS”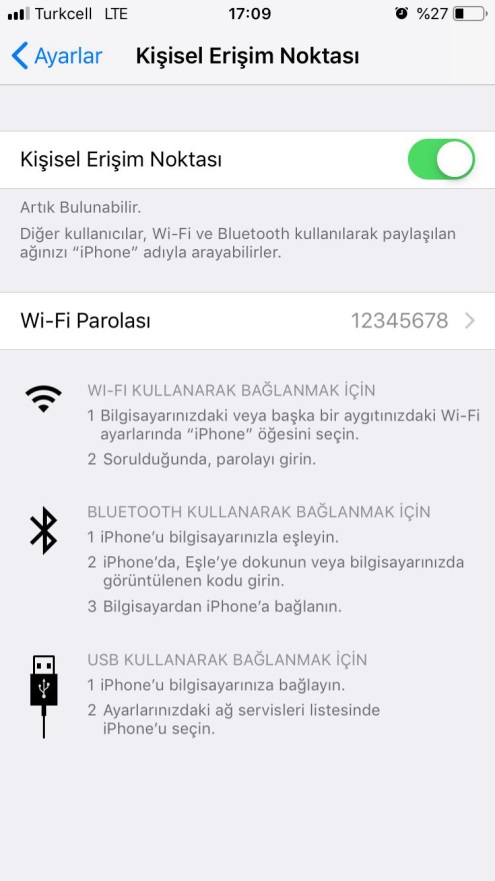
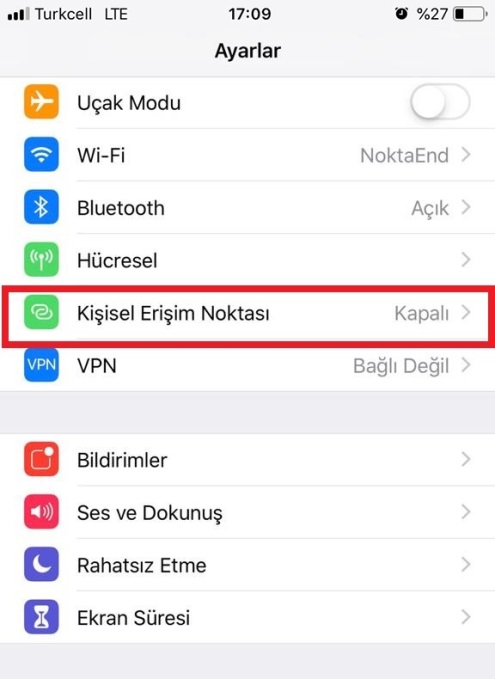 Enter your phone’s settings section. From the Settings menu, go to Personal Hotspot section and then activate the Personal Hotspot option.
Adjusting Wireless Settings for SMX-RNS20 with Physical Connection
Section titled “Adjusting Wireless Settings for SMX-RNS20 with Physical Connection”The SMX-RNS20 module has two LAN connection ports. Plug one end of the Ethernet cable into the SMX-RNS20 module’s RJ45 port, and plug the other end into your computer’s corresponding Ethernet port.
By typing “View Network Connections” in the search bar (Start > Search Tab for Windows 7), go to that setting section in Windows.
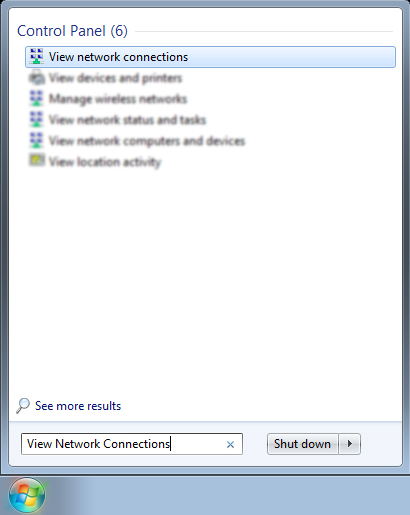
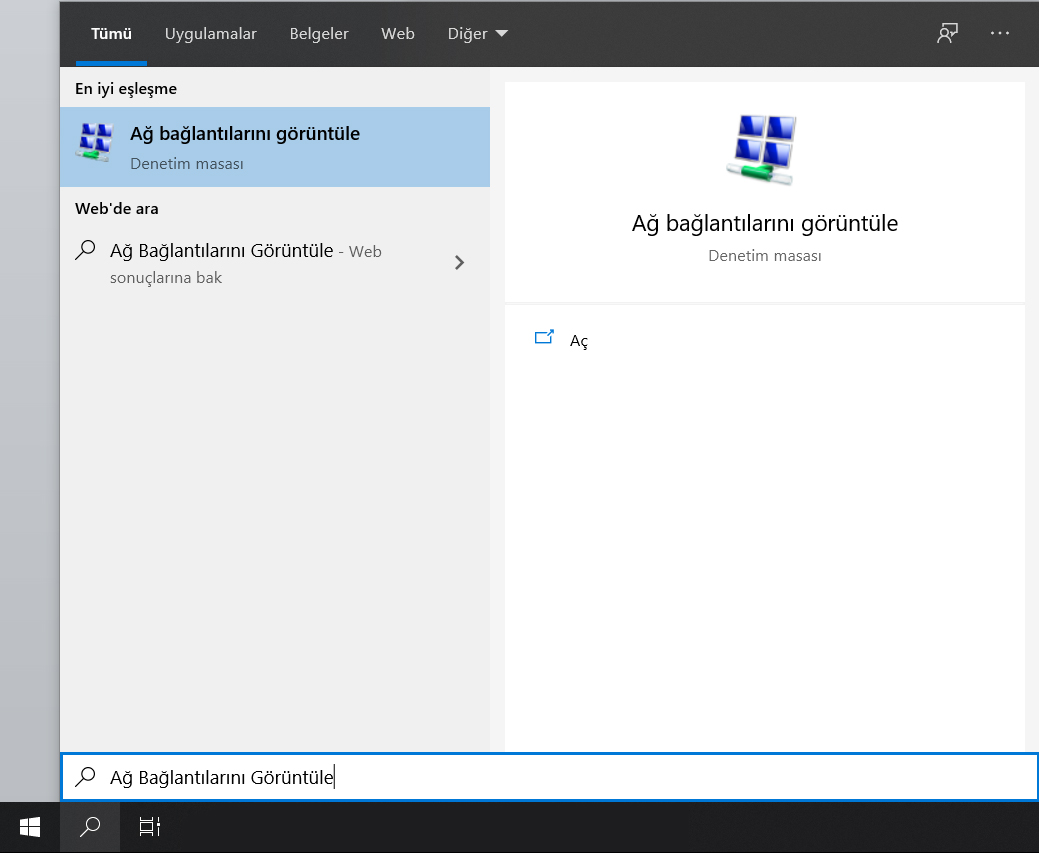
In the pop-up screen which is displayed, the network adapters on your computer will be listed.
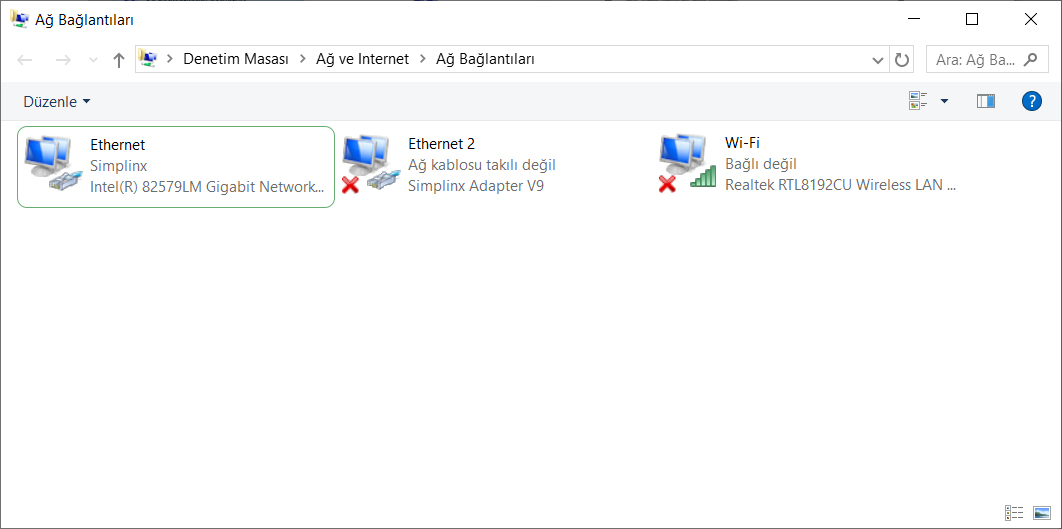
Double-click with the mouse to the adapter for the hard-wired connection from this list.
Follow the navigation in order with the commands: Properties > TCP/IPv4 > Properties.
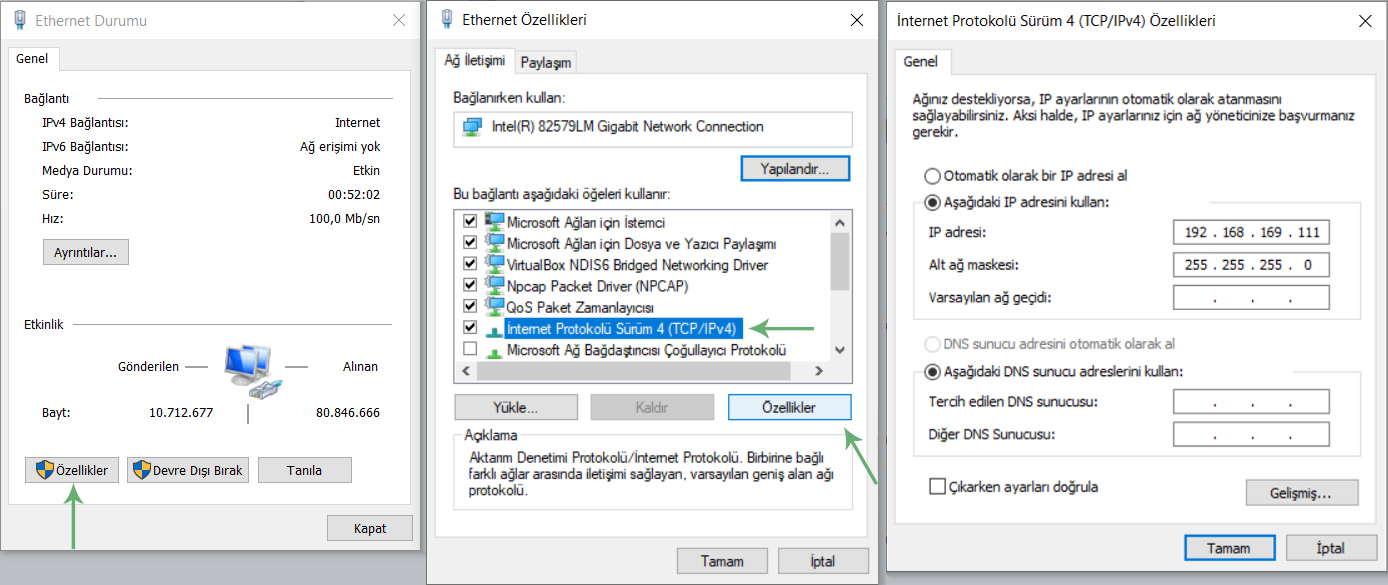
Fill in the relevant fields by selecting Use the following IP address from the pop-up screen: The settings should be as follows;
-
IP address: 192.168.169.[0-254]
-
Subnet mask: 255.255.255.0
Once the required settings have been made, close the opened windows by saving them and go to the address 192.168.169.254:3000 from your browser.
The home screen will welcome you, log in by typing your password.
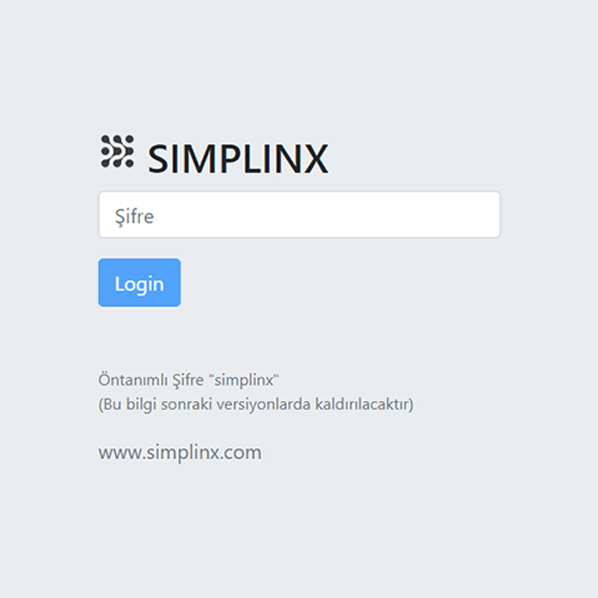
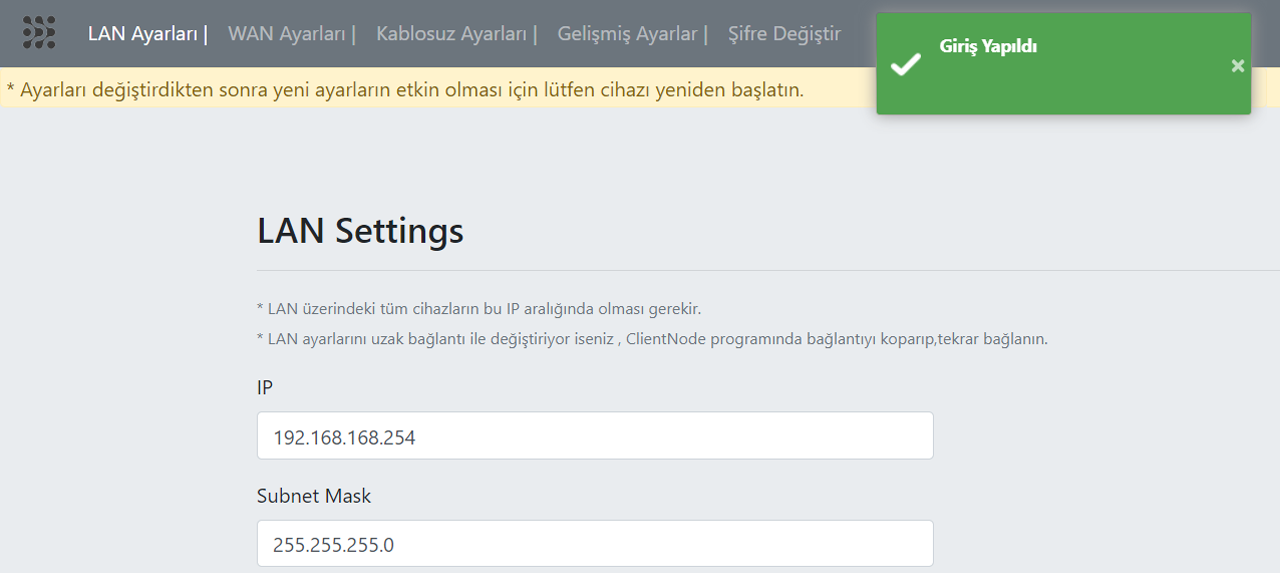
Once you logged in, go to the Wireless Settings page from the menu and fill in in the required areas that are related with the WiFi sharing settings of your phone and then save.
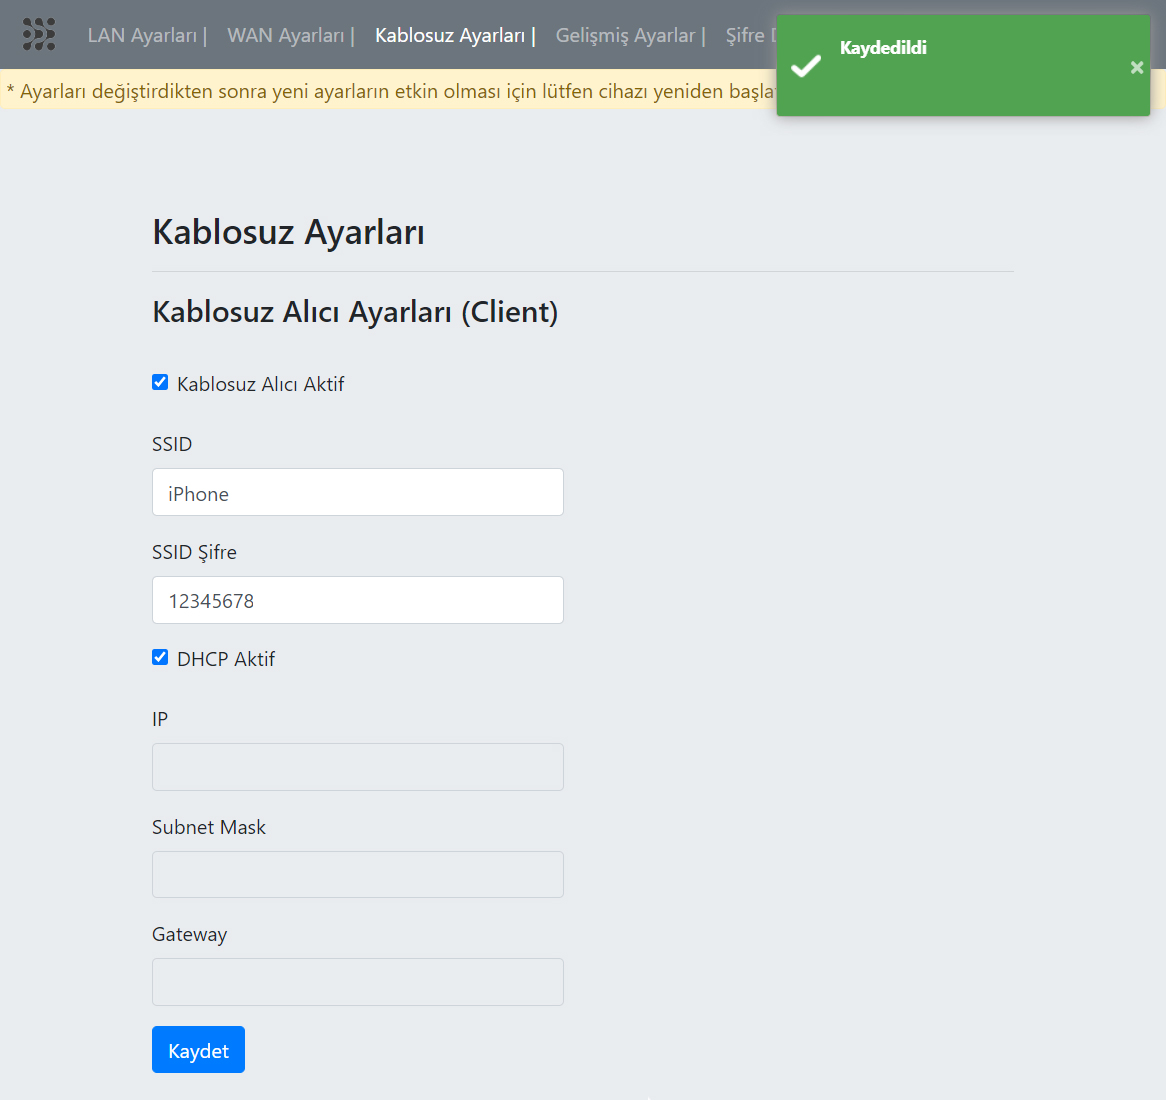
When your device is turned on again, plug the SMX-N1559 USB Wireless Adapter into the SMX-RNS20 module. After a while, your SimpLinx device’s online LED will be lighted with green color and the device will be connected to internet over Wi-Fi sharing of your mobile phone.
Setting Wireless Settings for SMX-RNS20 with Wi-Fi Connection
Section titled “Setting Wireless Settings for SMX-RNS20 with Wi-Fi Connection”The SMX-RNS20 module has 2 USB ports. Insert the SMX-N1559 USB Wireless Adapter into the SMX-RNS20 module. In a few seconds, your device will broadcast Wi-Fi signal with its serial number.
Connect your PC to this Wi-Fi network which is created by your SimpLinx device and go to the address 192.168.169.254:3000 from your browser.
The home screen will welcome you, log in by typing your password.
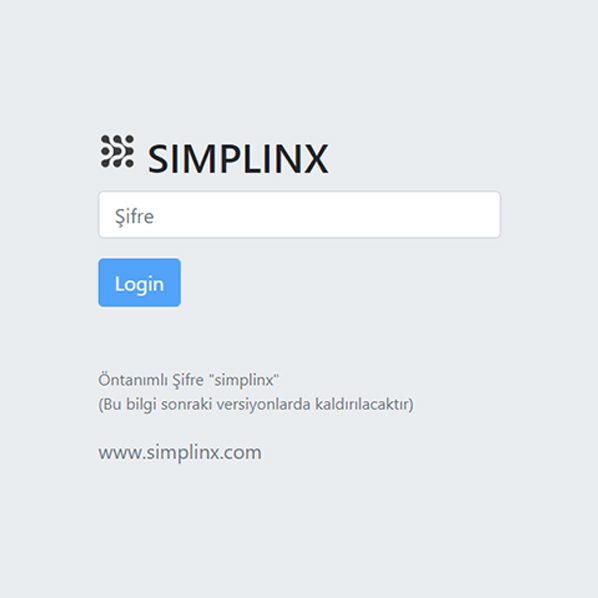
Once you logged in, go to the Wireless Settings page from the menu and fill in in the required areas that are related with the WiFi sharing settings of your phone and then save.
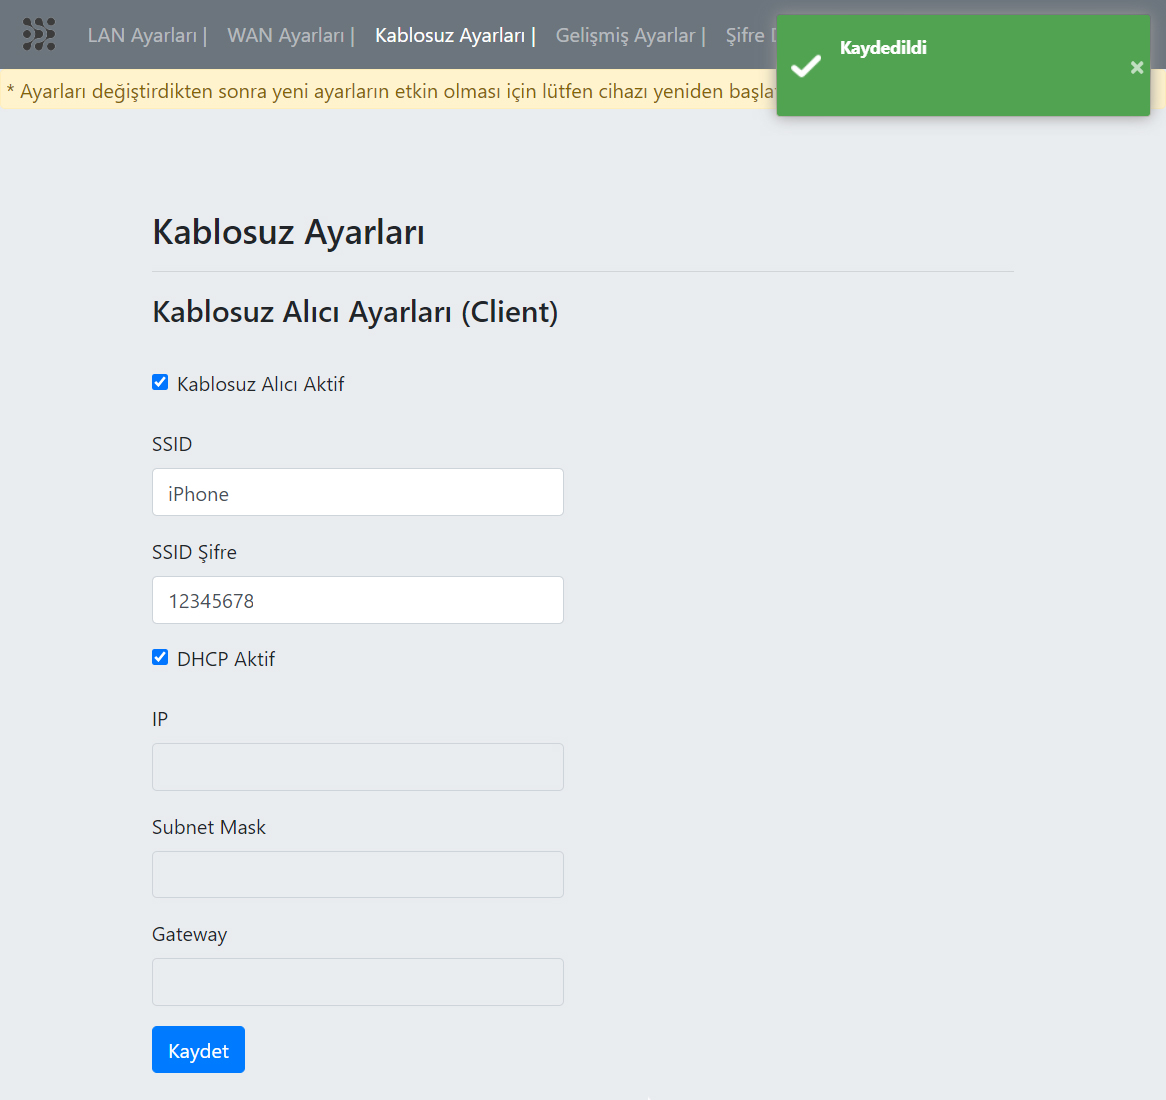
When your device is turned on again, the ready LED will be lighted with green color first. After a while, your SimpLinx device’s online LED will be lighted with green color and the device will be connected to internet over Wi-Fi Connection of your mobile phone.
07/2020 man-en-wifi-phone-tethering.docx Version 1. 11 |
SimpLinx Elektronik Ltd. Halil Rifat Pasa Mh. Nazli Sk. No:1/5 No:17 Sisli/Istanbul www.simplinx.com |
|---|
Change Log
Section titled “Change Log”| Version | Date | Description |
|---|---|---|
| V1.0 | 07/2020 | Draft |
| V1.1 | 07/2020 | Typos |
Legal Notices
Section titled “Legal Notices”Warning Notice System
Section titled “Warning Notice System”This document contains alerts and information indications for the safety of you and your devices. The symbols and meanings used to draw your attention to these notifications are listed below.
Qualified Personnel
Section titled “Qualified Personnel”It is assumed that what is described in this document will be applied by qualified personnel for the specific task.
Disclaimer
Section titled “Disclaimer”We have reviewed the contents of this publication to ensure consistency with the hardware and software described. Since variance cannot be precluded entirely, we cannot guarantee full consistency. The information in this publication is reviewed regularly and any necessary corrections are included in subsequent editions.